

Cloudinary
Cancel subscription
How to Cancel Cloudinary Subscription: Official Steps
Learn how to downgrade or cancel Cloudinary from the console, handle add-ons and contracts, export account data, and understand billing and refund boundaries.
- 19 current official sources checked
- 1 billing route separated
- Legacy Provider and equivalent Blog content reconciled claim by claim
- Steps, outcomes, refund boundaries, and related products revalidated
How to cancel Cloudinary through the correct billing owner
Web cancellation
Cancel Cloudinary through Web
 1
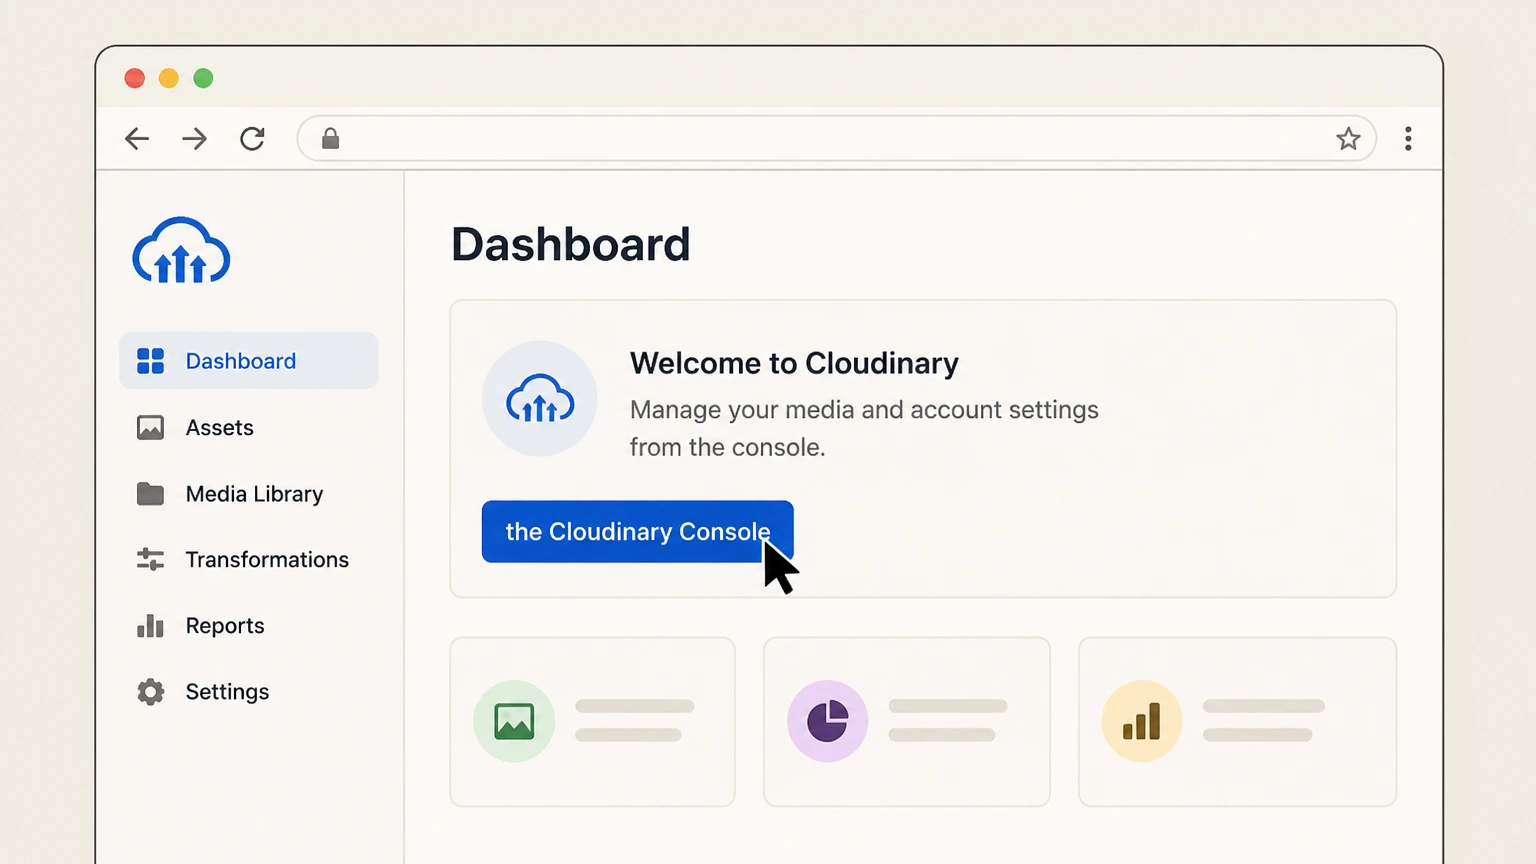
1Open the Cloudinary Console
In a web browser, go to the Cloudinary login page and sign in to the Cloudinary Console with an account that owns or administers the subscription you want to cancel. Verify that you can see the main Console navigation and Settings area before continuing.
 2
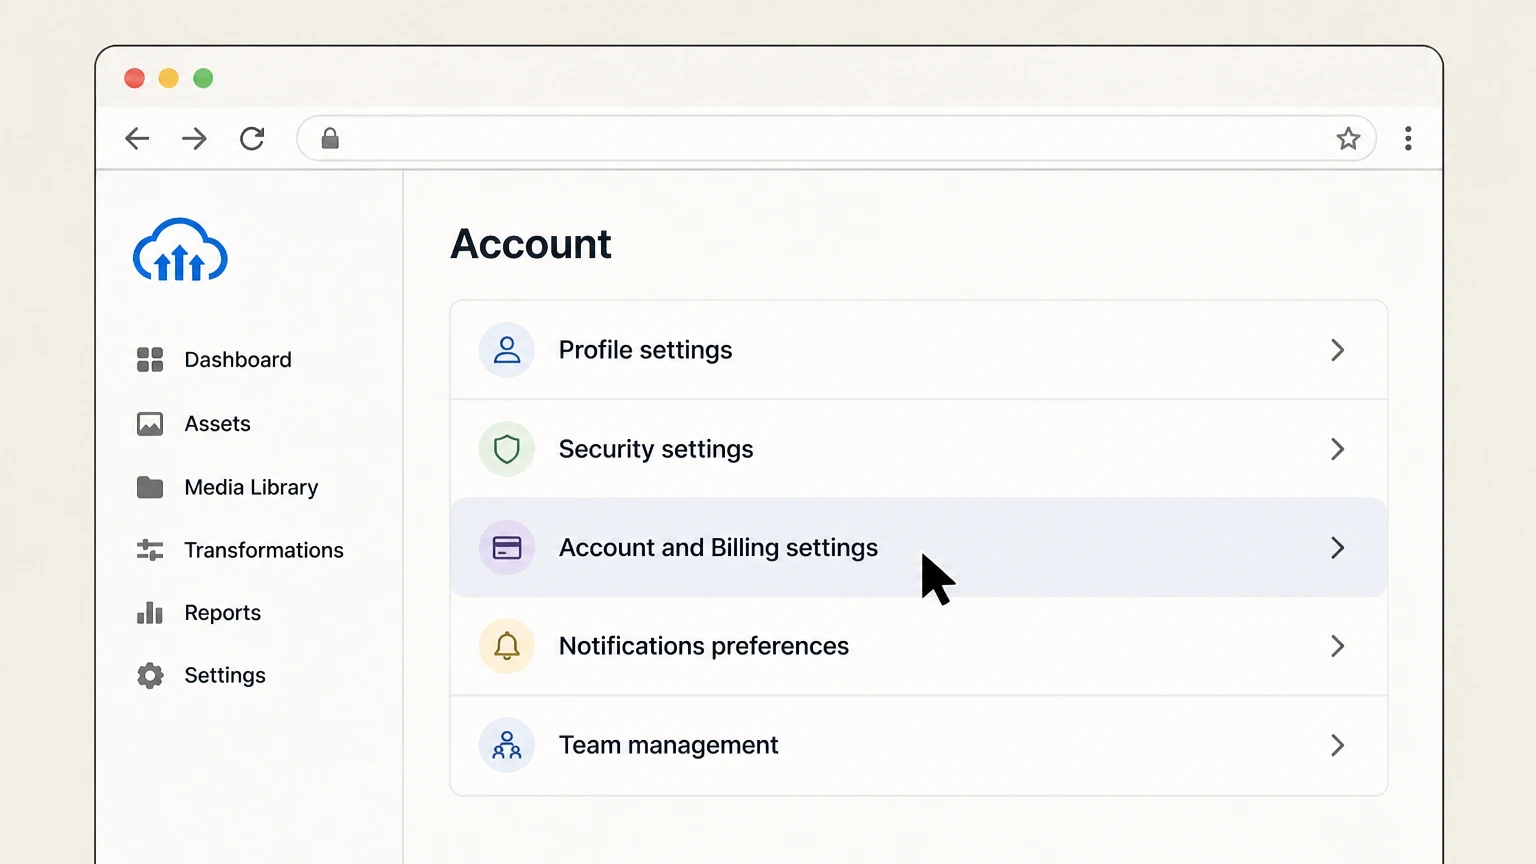
2Open Account and Billing settings
From the Console, open Settings (for example, via the gear or profile menu). In the Settings navigation, go to Billing and then choose Plans to open the Plans Details page, which shows your current plan, allocation, usage, renewal information, and any add-on plans.
- Let Pine handle it
Pine can help
Too many steps?
Pine can find the right Web path and handle the cancellation for you.
 3
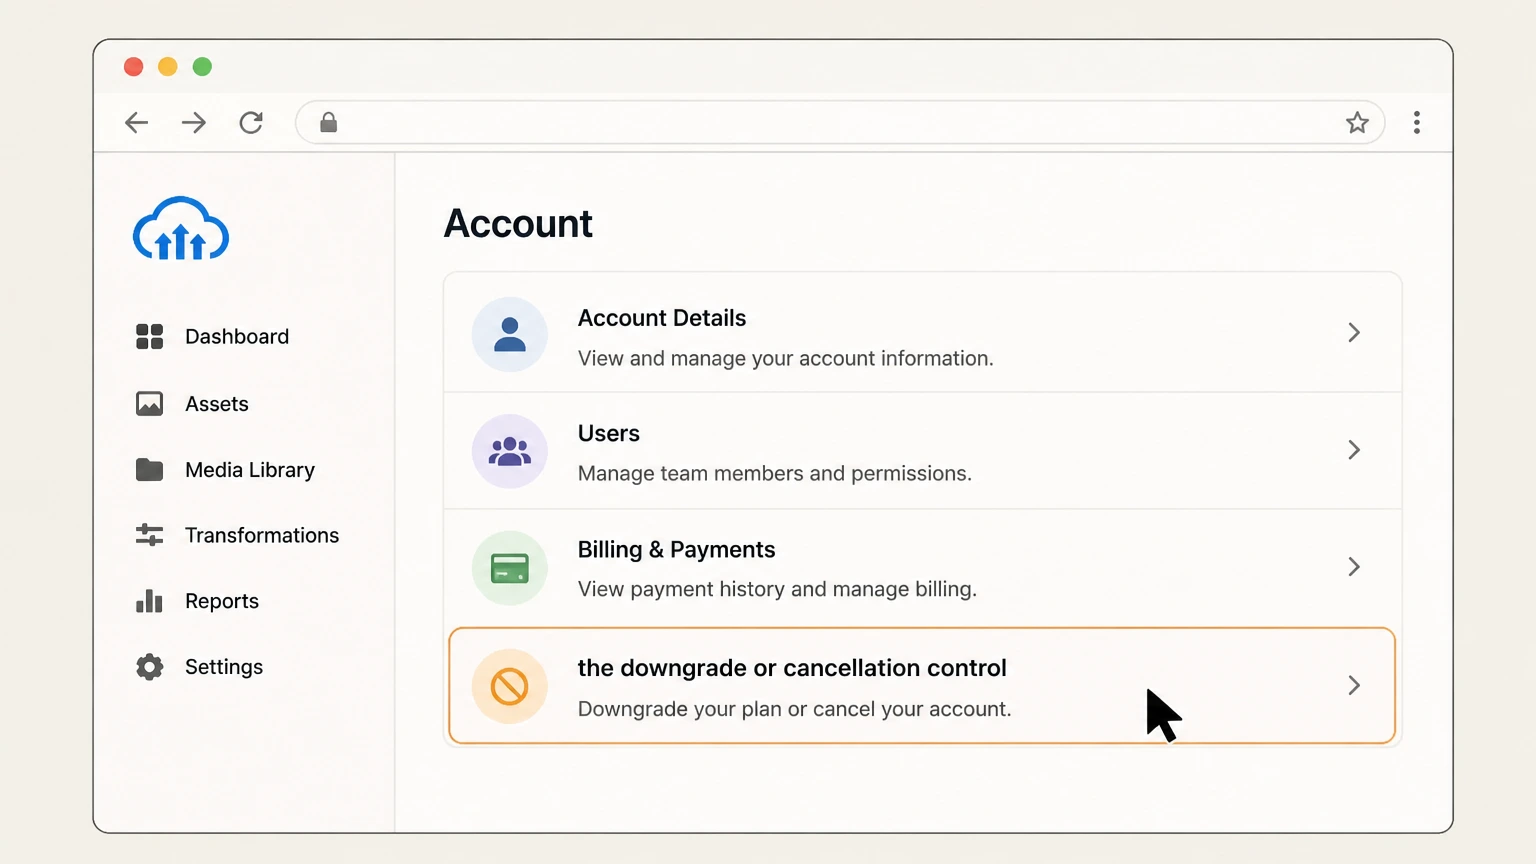
3Choose the downgrade or cancellation control
On the Plans Details page, review your current plan. If you want to end your Cloudinary subscription entirely, use the cancellation entry point at the top of the Plans page (for example, a Start the process here link or Cancel my account control) to launch the cancellation flow. If instead you prefer to stay on Cloudinary but stop paying, use the Change plan or similar option to select the Free plan or a lower tier, following the inline steps shown.
 4
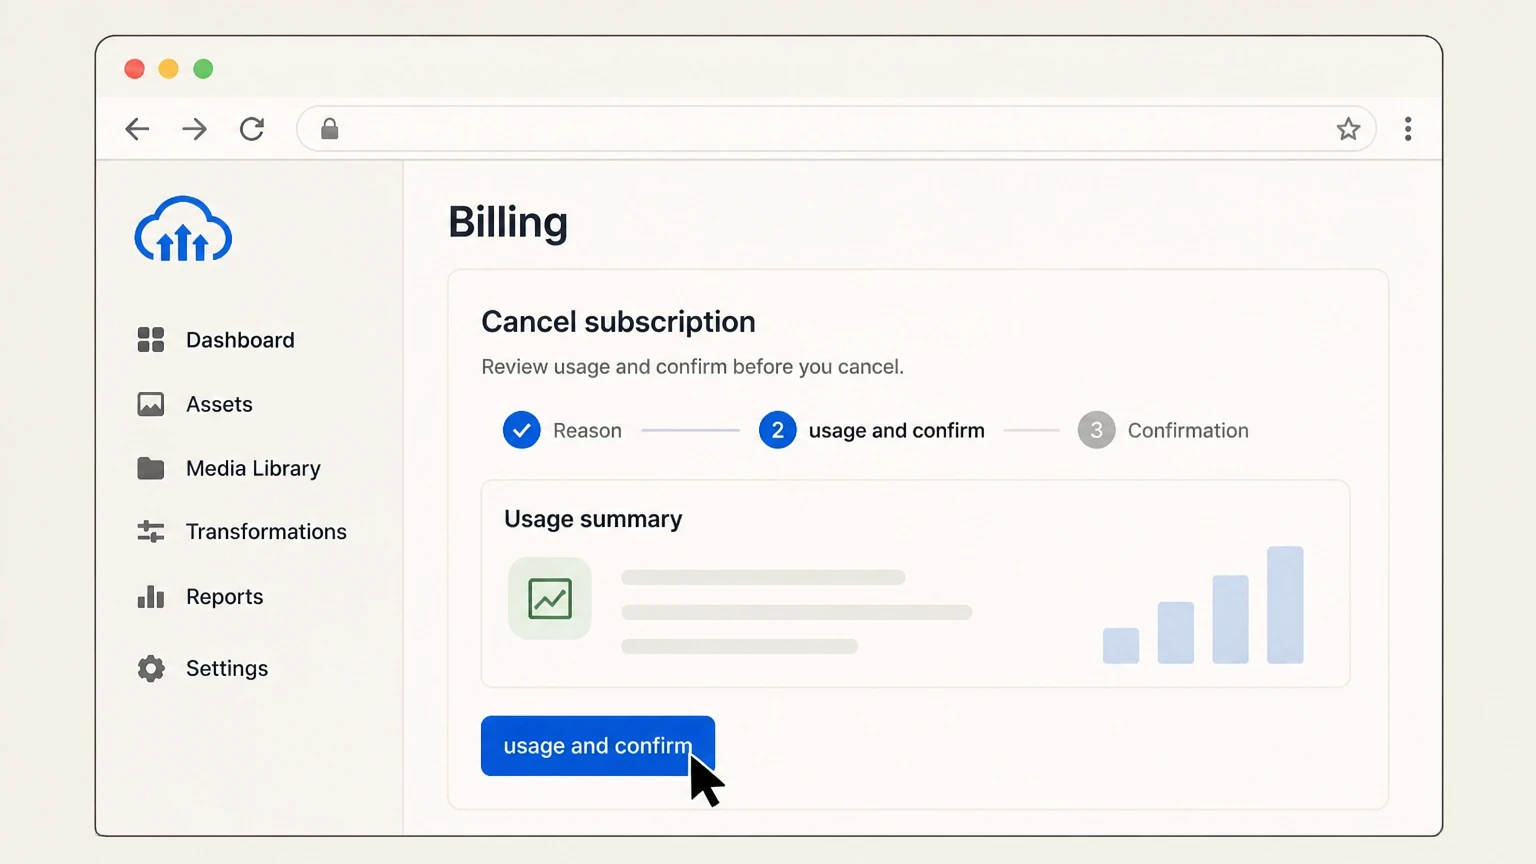
4Review usage and confirm
Before you finalize cancellation, download any assets you need, save past invoices from the Invoices page, and note any applications or integrations that depend on your Cloudinary URLs. Then follow the cancellation screens to confirm; once completed, your account enters a disabled state, and admins have 30 days to restore it before product environments and their assets, metadata, and settings are permanently removed.

Refund policy
Cloudinary refunds, credits, and overage charges
Cloudinary’s public documentation focuses on how billing and usage work and when contracts can be terminated. It does not promise automatic refunds for unused subscription time when you cancel through the Console; any refund or credit entitlement depends on your specific agreement and circumstances.
Check my refund options- Self-service cancellations and unused time
- Billing documentation describes how to upgrade, downgrade, and cancel plans but does not outline automatic partial refunds for unused time on self-service subscriptions. Cloudinary instead directs billing questions to support, so expect charges already incurred in the current period to remain unless your individual contract says otherwise.
- Contractual refunds in the MSA
- Cloudinary’s Master Subscription Agreement (MSA) states that if a customer terminates for specific Cloudinary breaches under the MSA’s termination clause, Cloudinary will refund a proportionate amount of prepaid basic subscription fees for the remaining subscription term. This is a contract-specific remedy, not a general refund for ordinary cancellations.
- No refunds when terminated for AUP or ToU breach
- The Acceptable Use Policy and Terms of Use clarify that Cloudinary may suspend or terminate accounts for violations of the Terms or AUP and that such enforcement actions do not entitle the account owner to refunds, credits, or other compensation.
- Overages and pay-as-you-go usage
- For pay-as-you-go style plans, Cloudinary explains that if your usage on the billing date exceeds 100% of the quota, excess usage is charged as overage at the plan’s overage rate. Cancelling or downgrading later does not retroactively remove those billed overages.
If you need to know whether your specific Cloudinary order form or MSA allows refunds or credits when you cancel, review your contract and contact Cloudinary billing support or your Customer Success Manager for written clarification. Ask Cloudinary support about your refund options
Cloudinary plans
Cancelling your account vs downgrading to Free
Cloudinary clearly separates full account cancellation from downgrading your plan, including to the Free tier. Knowing the distinction helps you choose between stopping billing entirely and keeping your existing environments and URLs active on a lower-cost plan.
When to cancel instead of downgrade
Cloudinary describes cancellation as putting your account into a disabled state that’s intended for leaving the service; after 30 days, environments and assets are removed. Downgrading is recommended when you want to reduce cost but continue using existing assets and configuration.
Benefits of downgrading to Free
Documentation explicitly suggests downgrading to the Free plan before cancelling if you still need access to stored media. The Free plan retains your assets and configuration at no subscription cost, subject to plan limits, instead of disabling the account.
How self-service downgrades work
For self-service plans, you can open Console Settings and use the account or Plans page to choose Change plan and select a lower tier. Billing and plans documentation notes you can often apply downgrades immediately or schedule them for the end of the current billing cycle.
Why downgrades can be blocked
If you can’t downgrade, Cloudinary’s downgrade-troubleshooting article explains potential blockers: unsupported paid features, too many users or product environments, active add-ons, unpaid invoices, usage exceeding the target plan, different billing cycles, or a custom delivery hostname.
After cancellation
What happens after you cancel Cloudinary
Cloudinary’s cancellation flow changes your account state rather than deleting it immediately. Understanding what “disabled” means and how long restoration is possible is essential before you confirm cancellation.
Disabled account state
When you cancel via the Plans page, Cloudinary places your account into a disabled state. You can still sign in, but you’ll see a restoration screen instead of the normal Console. Admins have 30 days to restore the account from this state.
Thirty-day restoration window
Both the cancellation and billing guides state that cancelled accounts can be restored by admins within 30 days. After this period, all product environments and their assets, metadata, and settings are permanently removed, and restoring later will create a new, clean environment.
Access to stored media after cancellation
Billing documentation warns that after cancellation, your account enters a disabled state and stored media is no longer accessible. That is why Cloudinary recommends downloading any assets you need and saving invoices before you complete the cancellation process.
Re-enabling cancelled or disabled accounts
To re-enable a cancelled or usage-disabled account, sign in and select an appropriate plan from Console Settings. Cloudinary notes that if the account has been cancelled or disabled for more than 30 days, previous environments and data may have been removed and you may receive a new environment instead.
Media & data
Assets, product environments, and URLs
Cloudinary organizes your media into product environments. Cancellation and downgrades affect those environments and the URLs that serve your content in different ways.
What a product environment contains
A product environment (previously a sub-account) includes an asset repository plus environment-specific settings such as upload presets, named transformations, and other configuration. Cancelling or deleting the account affects all product environments under that account.
Impact of cancellation on environments and URLs
After 30 days in a cancelled state, Cloudinary permanently removes product environments and their assets, metadata, and settings; URLs that pointed to those assets will no longer resolve to the original media. Restoring after this point creates a fresh environment instead of reviving old data.
Deleting assets before you leave
If you want to clean up content before cancelling, you can bulk-delete assets, including by using Console tools such as the bulk delete section or by calling Admin API deletion methods. For backed-up assets, Cloudinary recommends contacting support.
Disabled vs active environments
For over-quota or unpaid accounts, Cloudinary may disable environments while allowing some asset delivery for a time; uploads and new derivatives are blocked, and continued non-compliance can eventually block delivery as well. This behavior is separate from voluntary cancellation but leads to similar disabled states.
Add-ons & extras
Add-ons, extra users, and environments
Cloudinary bills feature add-ons, extra users, and additional product environments alongside your base plan. These subscriptions can affect both downgrades and your overall exit path from the platform.
How add-on billing works
Cloudinary’s billing guide explains that add-ons are billed separately but on the same billing cycle as your base plan. When you purchase or upgrade an add-on mid-cycle, charges and quota are prorated; add-on downgrades take effect only at the start of the next billing period.
Add-ons that block downgrades
The downgrade-troubleshooting article notes that certain active add-ons require higher-tier paid plans and can prevent you from downgrading. The Plans page will show an error listing unsupported add-ons, and you must deactivate them from Console Settings > Add-ons before retrying the downgrade.
Extra users and product environments
Billing documentation describes extra user subscriptions and additional product environments as separate add-on-style charges. When you reach base-plan limits, the Console shows controls such as Change user limit or Change Limit and you may need to reduce counts or remove add-ons before moving to a smaller plan.
What happens to add-ons when you cancel
Cloudinary ties add-on plans and their renewal dates to your account’s billing cycle, and active add-ons appear on the Plans Details page. When you complete the account cancellation flow from that page, you are cancelling the overall account subscription; add-ons associated with that account stop renewing with future billing cycles for that account. For confirmation in complex setups, Cloudinary recommends contacting support.
Troubleshooting
If you can’t find cancellation or downgrade controls
If the expected Cancel my account button or downgrade options don’t appear, Cloudinary documentation points to several plan, role, and usage conditions that can block changes or move flows to different pages.
Check your Cloudinary role and access
Cloudinary’s roles and permissions docs explain that account-level roles such as Account Master Admin, Account Admin, and Account Billing control which settings and billing areas a user can access. If you can’t see Billing or Plans, ask an account administrator to perform the cancellation or adjust your role.
Look for the right settings page
Older self-service flows reference an Account settings page with a Cancel my account button, while newer documentation directs you to Console Settings > Billing > Plans and a Start the process here link. If one is missing, check both Settings > Account and Settings > Billing > Plans after signing in.
Resolve downgrade blockers
If you see an error instead of plan options, Cloudinary’s downgrade article lists likely blockers: unsupported paid features, too many users or product environments, unsupported add-ons, unpaid invoices, usage over the target plan, mismatched billing cycles, or a custom CNAME. Resolving the specific blocker enables downgrades again.
Usage or payment-related disabling
Separate support articles explain that exceeding plan quotas or repeated payment failures can automatically disable your account. To re-enable it and regain access to plan management, you may need to either select a higher plan, reduce usage within limits, or fix your payment method.
Before you cancel
Preparing your Cloudinary account to cancel
Cloudinary’s billing and cancellation documentation recommends several housekeeping steps prior to cancelling, focused on preserving access to essential media and records and avoiding unexpected service breaks.
Download critical assets
Because a cancelled account enters a disabled state where stored media is no longer accessible, Cloudinary explicitly advises downloading assets you still need before you start the cancellation flow. Consider exporting key folders or using the Admin API for bulk exports.
Save invoices and billing records
The billing overview highlights an Invoices page where you can view and download past invoices and payment confirmations. Before cancelling, download any invoices your finance or tax teams may need, since you may lose easy console access after the account is disabled.
Audit applications and integrations
Cloudinary recommends reviewing active integrations that rely on your account before cancelling, including websites, apps, and partner platforms. Update or disable those integrations so they do not continue to request media from Cloudinary URLs that will stop working after environments are removed.
Reduce usage if you plan to downgrade
If your goal is to move to a smaller or Free plan rather than cancel completely, consider deleting unused assets and optimizing delivery first. Billing and usage docs note that deleting assets immediately reduces storage usage, and a rolling 30‑day window can lower transformation and bandwidth usage over time.
Data deletion
Requesting full account and data deletion
Cloudinary distinguishes between cancelling (disabling) an account and permanently deleting the account and associated personal data. Deletion always requires a support-assisted process.
Cancellation vs full deletion
The cancellation/deletion article explains that cancelling disables your account but keeps a 30‑day restoration option; deleting removes the account, all assets, and your personal data entirely. You cannot self-delete through the Console; deletion requires a support request.
How to request deletion
To request full deletion, Cloudinary instructs you to open a support ticket and include your product environment name and a Support Verification Code so they can verify ownership before deleting the account and remaining data.
Generating a Support Verification Code
The same documentation notes that you can generate a Support Verification Code from Settings > My Profile in the Console. When you click Generate a Code, Cloudinary emails the code to the address associated with your account, and you include it in your deletion ticket.
Email uniqueness and deleted accounts
A separate support article clarifies that one email address cannot be associated with multiple Cloudinary accounts. If you need an email freed up for reuse, you can ask support to permanently delete the “old” account associated with that email, again using a Support Verification Code for verification.
Account status
Cloudinary disabled accounts vs cancelled accounts
Cloudinary may disable accounts automatically for overuse or payment failures, and you can also intentionally cancel your account into a disabled state. These paths differ but share some behaviors.
Automatic disabling for overuse
Support articles explain that if you exceed your plan’s quota and do not upgrade or reduce usage despite repeated notices, Cloudinary may automatically disable your account. Initially, existing asset delivery can continue for some time, but uploads and new transformations are blocked.
Disabling for payment failure
If repeated attempts to charge your payment method fail, Cloudinary emails you and can eventually disable the account. To re-enable it, you must update your payment method on the Payment Method page under Billing so charges can succeed again.
Voluntary cancellation creates a disabled state
The cancellation documentation states that cancelling your account via the Plans page also results in a disabled account state rather than immediate deletion. The difference is that in this voluntary route, admins have a 30‑day window to restore before environments and assets are permanently removed.
Re-enabling and data loss risk
Both billing docs and disabled-account articles note that re-enabling a long-disabled or cancelled account may give you a fresh environment if Cloudinary has already removed prior environments and assets. The longer an account remains disabled after cancellation, the higher the risk that old data cannot be recovered.
Cloudinary cancellation FAQ
Provider-specific answers based on official sources checked August 10, 2026. Signed-in terms, region, billing owner, and applicable law still control.
Does cancelling my Cloudinary account stop all future charges?
What’s the difference between cancelling Cloudinary and downgrading to Free?
How long does Cloudinary keep my assets after I cancel?
Can I re-open a cancelled or disabled Cloudinary account?
What happens to Cloudinary add-ons when I cancel or downgrade?
What if Cloudinary disabled my account for quota or payment issues?
How do I permanently delete my Cloudinary account and personal data?
Who should I contact about Enterprise Cloudinary cancellations or refunds?
Untangle this Cloudinary issue.
Let Pine handle the provider follow-up and keep the confirmation in one place.
